You've got a navy blazer on the table, a fitting sheet with three handwritten notes, and a factory in another timezone waiting for a file. The sample pulls across the back shoulder. The sleeve ends a finger's width short of the wrist bone. Someone in the room asks the question that decides the next two weeks: what exactly changes, and where do we record it so nobody has to guess?
That question is what CAD answers for a menswear team. Not the drawing. The record.
Most beginners treat CAD as a prettier sketch pad, buy a tool, and then discover the file they built can't be graded, quoted or sewn. The designers who get value from it treat CAD as the place where a garment's decisions live: the pattern geometry, the measurements a factory must hit, and the construction notes that explain how the pieces join.
Table of Contents
- What CAD Means for Menswear Design
- Measurements a Men's CAD File Must Hold
- How a Menswear Pattern Moves From Sketch to Sample
- Testing Fit on a Digital Male Avatar
- Sizing for Real Male Body Diversity
- Where AI Fits in Menswear Design
- Choose Your Menswear CAD Workflow
What CAD Means for Menswear Design
The sketch is the easy part. A designer puts a navy single-breasted blazer on paper in an afternoon, then the work slows to a crawl: draft the block by hand, add seam allowance, send it out, wait for a sample, hold a fitting, mark the sample up, wait again. Every correction produces a new pattern. Every added size produces another one.
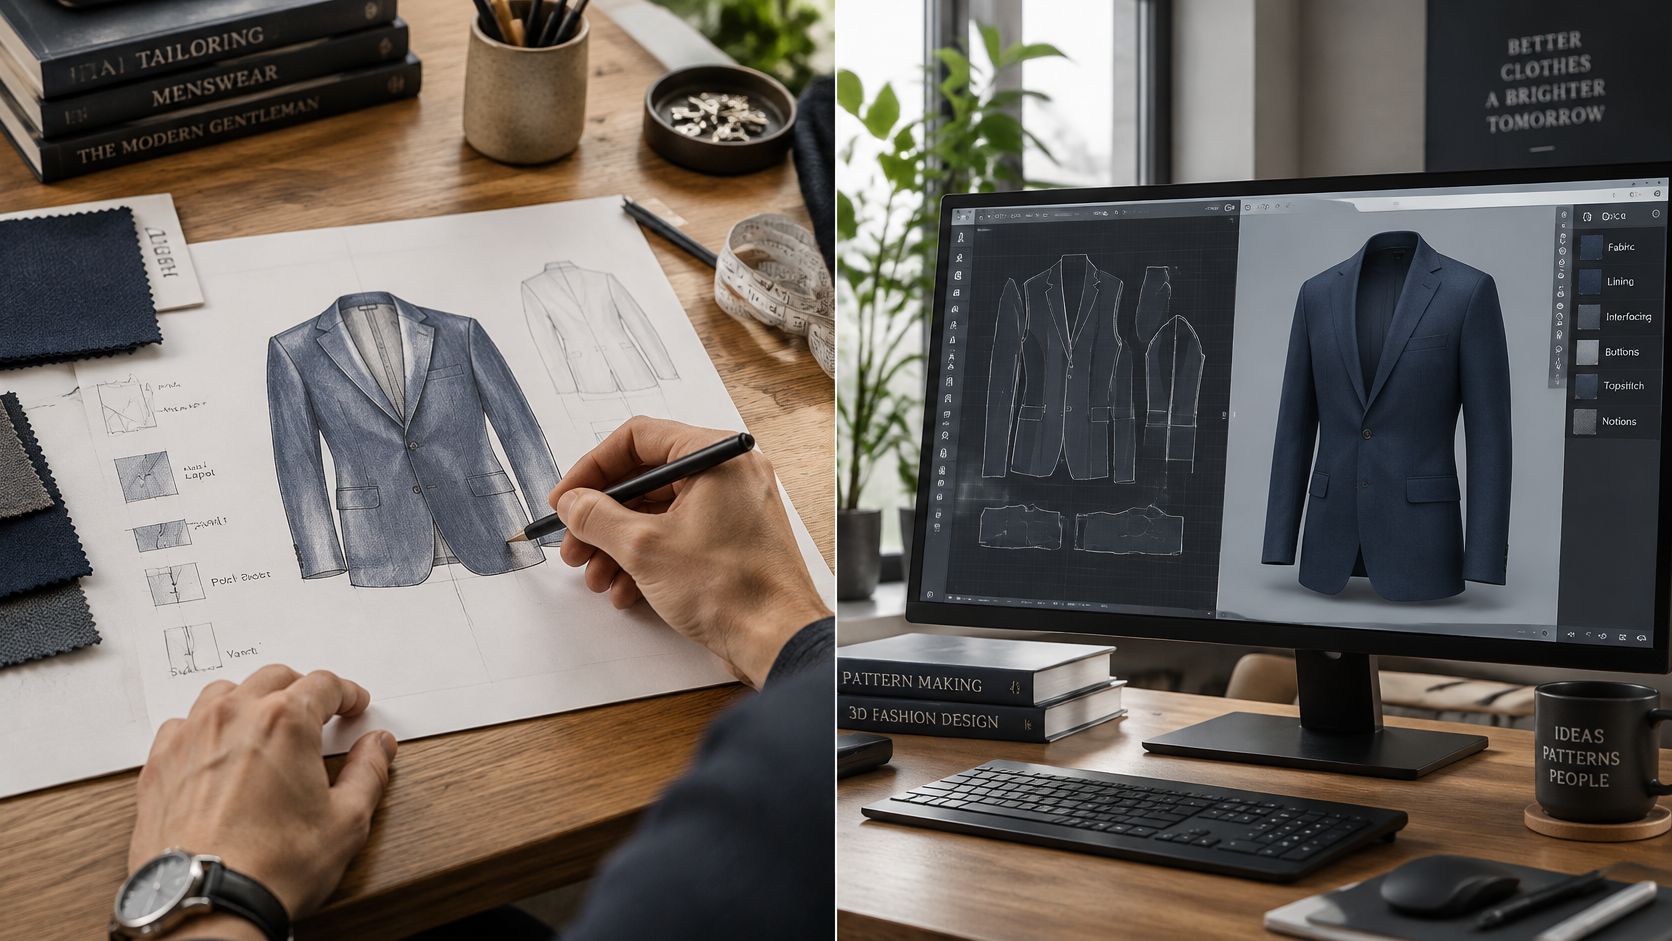
CAD moves that sequence onto a screen. The term stands for computer-aided design, and in menswear it means building the pattern, the measurements and the construction instructions as one file that a factory can read and a colleague can edit without redrawing from scratch.
Think of a paper pattern as a printed recipe. It makes one dish at one quantity. A CAD file is the same recipe held in a spreadsheet: raise the serving count and every ingredient scales with it, and if the oven runs hot you change one cell instead of rewriting the page.
The three outputs a CAD file owes you
- 2D pattern pieces. Closed outlines with seam lines, notches, grainlines and drill holes, drawn to real measurements in millimetres or centimetres rather than guessed proportions.
- 3D garment views. The file rendered on a body or avatar so you can see where the cloth pulls, where it hangs straight and whether the silhouette matches the sketch.
- Technical drawings. Flats labelled with stitching type, trims, closures, topstitch distances and any detail a machinist must not improvise.
Different people lean on different outputs. In-house product designers live in the sketch and the render. Technical designers live in the measurements and the callouts. Sourcing teams need a file a factory can open and quote from. Founders of small menswear brands, often working without a patternmaker, need all three from one file because there's no one downstream to fill the gaps.
Before you compare software, write down the three outputs a menswear file has to produce in your business, then check which tool delivers all three without an export that loses data. A tool that draws beautifully but can't hold a tolerance will cost you a sample round.
Note on the search term: if you arrived looking for the medical condition, coronary artery disease is a separate subject. In one first-presentation study, men had 46 to 53 cases per 100,000 compared with 18 to 23 per 100,000 in women (the CAD incidence study). Everything below covers computer-aided design for menswear.
Measurements a Men's CAD File Must Hold
A pattern without measurements is a drawing. What turns it into a producible garment is a set of points of measure, the specific body and garment dimensions the pattern must hit, each with a tolerance that says how far off is acceptable.
Beginners usually get this half right. They record the chest and the length, then leave the factory to interpret everything else. The factory doesn't guess your intent; it guesses a number. That number becomes your bulk order.
What a point of measure actually is
A point of measure is a named location plus a method. "Chest width" is not enough. "Chest width, measured straight across the front from armhole to armhole at armpit level, garment laid flat and buttoned" is a point of measure. The tolerance sits beside it: the amount a factory may deviate before the garment is out of spec.
The measurement block is the heart of the tech pack, and it's worth getting the surrounding documentation right too, as this guide to spec sheet essentials for fashion designers sets out. Sleeve and jacket length trips up more teams than any other row, so it helps to know exactly how a jacket size is measured before you write the number into a file.
Core measurements in a men's CAD file
| Garment | Key points of measure | How it is measured | Typical tolerance |
|---|---|---|---|
| Tailored jacket | Chest width, shoulder width, sleeve length, back length | Chest at armpit level; shoulder seam to seam; sleeve from shoulder point to wrist | About 1 cm on chest |
| Dress shirt | Neck, chest, sleeve length, body length | Neck at base; chest at fullest point; sleeve from centre back | Neck and sleeve tighter than body length |
| T-shirt | Chest width, body length, sleeve length, hem width | Chest one inch below armhole; body from high point shoulder to hem | About 1 cm |
| Trousers | Waist, seat, inseam, rise, leg opening | Waist at natural waistline; seat at fullest point; inseam from crotch to hem | About 1 cm on waist, 0.5 cm on leg opening |
| Compression garment | Chest, waist, hip, fabric stretch percentage | Body measures at relaxed state; stretch from fabric test | About 5 mm, plus stretch within 5% of the tested value |
Walk one row to see how it works. Take the cut jacket's chest: the pattern is drafted so the finished garment measures a set width at armpit level, and the spec allows about 1 cm of variance. A factory that returns jackets 2 cm wider has broken the agreement, and the grading for every size above it inherits the error.
Neck and sleeve length on a dress shirt sit inside tighter tolerances than body length, because a collar that fastens wrong or a cuff that stops short is a return, while a hem that runs a few millimetres long is not. Trousers add rise and seat, the two rows beginners forget, and the seat measurement is the one that decides whether a man can sit down in the garment. Compression garments belong in a different conversation entirely, because the fit depends on the fabric's stretch percentage as much as on the body dimensions.
Practical rule: never send a file with a blank tolerance. If the brand hasn't agreed a number, mark it as pending and hold the bulk order until it's signed off.
To read the table in practice, find the garment, confirm every listed point has a value, then mark any tolerance your team hasn't agreed yet. A factory reading only the drawing will invent the numbers you left out.
How a Menswear Pattern Moves From Sketch to Sample
The workflow is a loop, not a line. Files go forward into a sample and fit notes come back into the file, sometimes twice before a style is signed off. Each step below exists for a reason, and each has a slip that catches beginners.
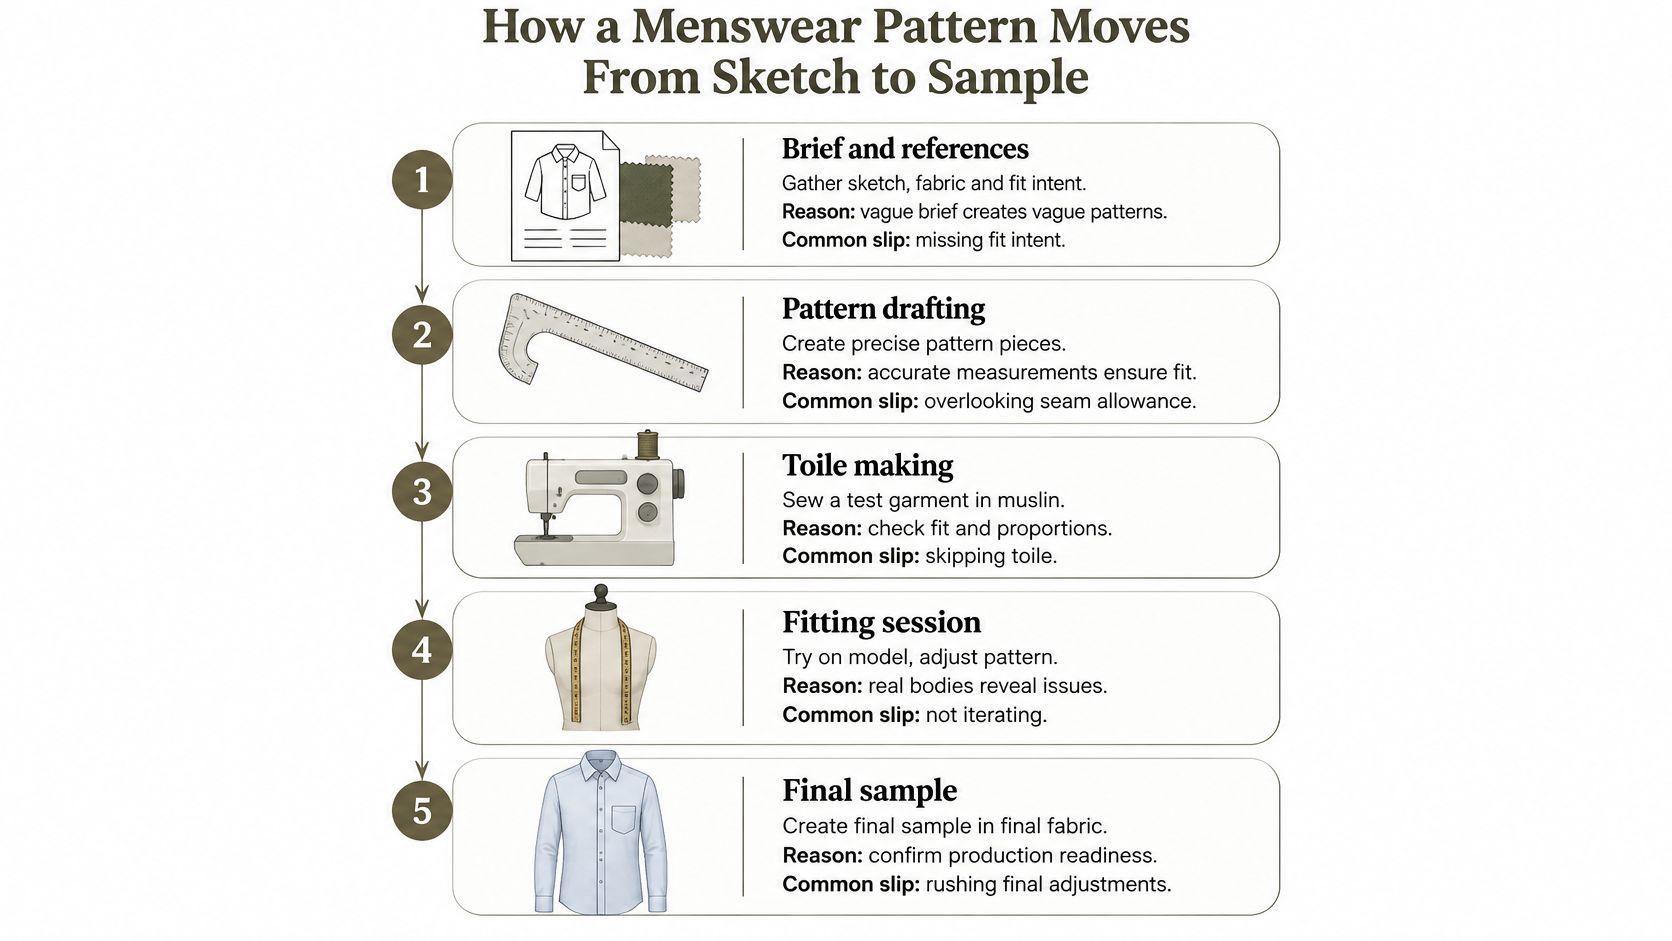
1. Brief and references. Collect the sketch, the fabric and the fit intent in one place before any pattern work starts. A brief that says "slim blazer" without saying how much ease sits at the chest produces a pattern that gets rejected on arrival. The common slip is leaving fit intent out entirely and letting the patternmaker choose.
2. Choose a base block. Start from a block matched to the fit type, whether that's a classic, a slim or a relaxed jacket. Blocks carry the shoulder slope, armhole depth and balance that make a garment hang correctly, so beginning from the wrong one pushes every size in the wrong direction.
3. Draw pattern pieces in CAD. Place seams, notches and grainlines, then check that seam lengths match: front armhole against sleeve cap, side seam against side seam. The slip is drawing the outline and skipping the walk, which sends a sleeve that's too big for its armhole into the sample room.
4. Grade across sizes. Set the size increments for chest, waist and sleeve length so every size keeps the design proportion. Grading chest alone is the classic error, and it produces an XL with sleeves cut for a medium.
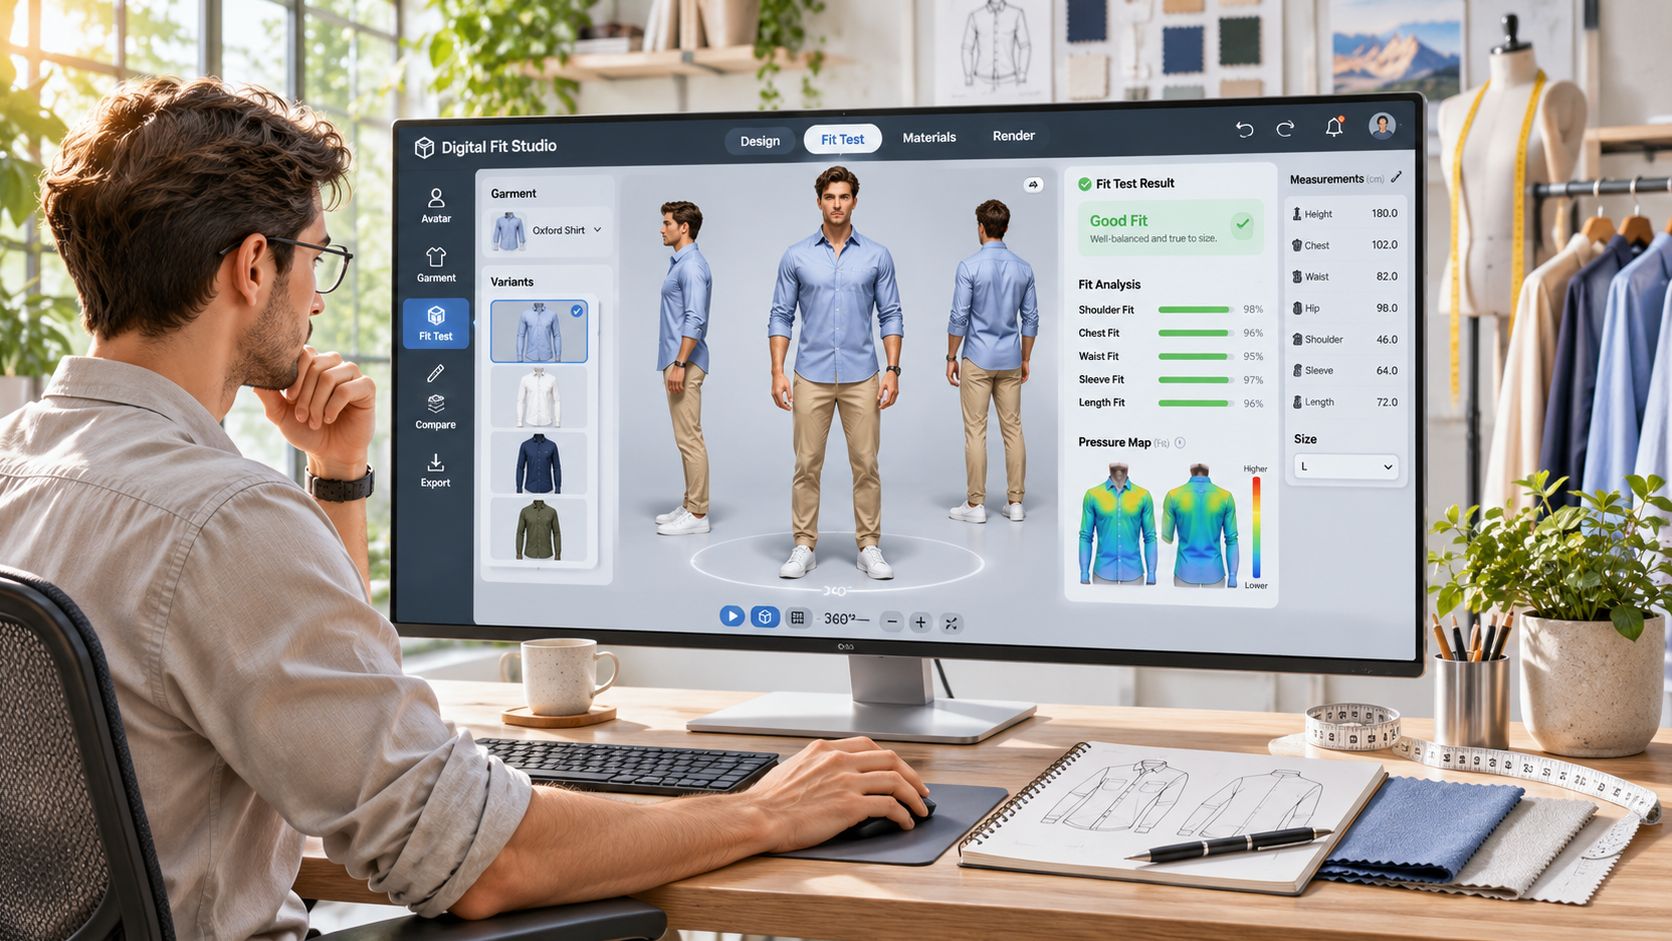
5. Render and simulate drape. Apply fabric weight and stretch, then review the silhouette on a male avatar. Treat this as a screening check that flags obvious problems before you spend money, not as proof of fit.
6. Generate the tech pack. Export drawings, points of measure and construction notes together so nothing is rebuilt from memory. A tech pack assembled by hand at the end usually misses trims, and the factory substitutes what it has in stock.
7. Sample and revise. Cut a physical sample, fit it on a real man, and feed the notes back into the file. The fit decision happens here, because a pattern that looks correct on screen can still pull across the shoulder blade.
The days that sampling, shipping and re-cutting consume are the part of the calendar that surprises new brands hardest, and the full sequence is mapped in this fashion production timeline from sketch to first sample. Budget your launch date around step seven, not around step three.
Testing Fit on a Digital Male Avatar
The question a designer asks is narrow: will this jacket fit a real man well? Most CAD guidance answers a different question, showing virtual try-on as though the avatar settles it, and moves on.
It doesn't settle it. A 2024 study in Fashion and Textiles notes that current avatars don't reproduce human soft-tissue compression effectively, so a virtual fitting may not show accurately how snug a garment feels, and the reliability of fit conclusions remains unverified for comfort decisions (Springer, 2024). Skin and fat move; a mesh doesn't.
Where the gap bites hardest
Four menswear categories concentrate the problem: structured jackets, performance apparel, compression garments and fitted shirts. In each, chest, abdomen, posture and shoulder shape change how the garment sits, and none of those interactions resolve the way a standard mannequin suggests. A generic "average male" avatar is the wrong reference point for all four.
A four-step validation protocol
- Calibrate the avatar against reality. Match the digital body to a real fit model or a body scan of the man you'll fit, not to a default figure in the software library.
- Feed in measured fabric data. Enter the stretch and recovery you tested on the actual fabric, because simulated drape built on generic material values produces a garment that behaves like nothing you can buy.
- Check pressure and mobility zones. Look specifically at the shoulder, the under-arm, the upper back and the seat, and ask what the body does there when the wearer raises an arm or sits.
- Confirm critical decisions on a physical sample. Whatever the render says about snugness, let the sample say the final word before a bulk commitment.
CAD reduces sampling rounds and it improves communication with a factory. It doesn't prove fit.
Treat virtual fitting as decision support and you'll use it well: to screen, to compare variants, to show a factory what you mean. Treat it as proof and the first wearer tells you what the screen couldn't. For teams tightening this loop, the approach behind AI-assisted virtual product validation is worth reading alongside your pattern work.
Sizing for Real Male Body Diversity
Two men can share a chest measurement and height yet need different blocks because their waists, hips, or proportions differ. A CAD file can preserve those differences, but only if the sizing system accounts for more than a single standard male shape. Research on men's body shapes identifies variation in body shape and in drops, the relationship between chest, waist, and hip measurements. It also calls for sizing that reflects different body types and regional systems (research on men's body shapes and drops).
Building a sizing strategy in three steps
Gather regional anthropometric data for each target market. A chart based on one country's measurements may fit customers in another poorly. The resulting mismatch can appear in the garment itself, even when its dimensions match the chart.
Group customers by body shape and drop, not height alone. Two men of the same height may have different waist measurements while sharing a similar chest measurement. A height-based chart cannot account for that difference; separate blocks or shape-specific adjustments can.
Document grading rules for chest, waist, abdomen, seat, sleeve, and rise. Specify which measurements change between blocks and which remain fixed. These rules give the factory a consistent method to follow.
Adding sizes alone does not guarantee a better fit. Extending a straight-size block can carry its original proportions into every larger size. When body shape changes, a distinct block or targeted adjustment may serve the wearer better than scaling the same pattern. Use CAD to compare those sizing decisions, then check the chosen fit on a physical sample.
Where AI Fits in Menswear Design
AI tools now generate design options from a text prompt, a sketch or a reference image, which changes the tempo of early concept work. A designer can compare five collar shapes, three pocket treatments and a handful of colourways in the time it used to take to draft one.
Three areas benefit most.
Concept variants. Widen the option space before committing. Prompt for a cropped bomber in three proportional variants and choose with your eyes rather than your imagination.
Revisions to silhouette or detail. Ask for the same jacket with a shorter body or a two-button front, and keep the rest of the design intact instead of redrawing from zero.
Launch visuals. Produce a clean visual early enough to test a style with buyers or on social before you've paid for a sample.
Where it stops
AI can propose a silhouette. It can't tell you how a fabric recovers after washing, whether a seam will pucker at the armhole, or whether the sleeve sits right on a real shoulder. Those judgements come from fabric tests, sample fittings and a technical designer reading a construction callout.
Brand-specific settings change the quality of the output. Load a moodboard, a palette and reference products so the generated options stay inside the collection's language instead of drifting toward generic menswear, and the variants you review are ones you could make.
Working rule: use AI to widen options early, then move the chosen design into a measured pattern, a checked tech pack and a physical sample. The tool generates; you decide.
The judgement stays with the designer, and that's the right division of labour. A generated concept that skips the measurement stage is a picture of a garment, not a garment.
Choose Your Menswear CAD Workflow
Team size, garment mix and sampling budget decide where you start. A shirts-and-tees brand doesn't need the same apparatus as a house cutting fitted jackets, and buying the heavier workflow first slows a small team down.
Starting workflow by team type
| Team type | Garment mix | Starting workflow | Check before bulk |
|---|---|---|---|
| Small brand without a patternmaker | Mostly shirts and tees | One base block and a basic CAD tool | Audit tech packs for missing measurements |
| Team producing tailored and performance garments | Tailored jackets and performance garments | Measured fabric data and full points of measure | Fit-model validation and physical sample |
The small brand can start with a single base block, a basic CAD tool and a disciplined measurement sheet, then add points of measure as the range grows. The team can't skip fabric data or a fit-model validation step, because both determine whether the jacket drapes or fights the body.
Three first actions
- Audit your current tech packs for missing measurements and blank tolerances. The audit often uncovers more gaps than expected and costs an afternoon.
- Pilot one garment category through the full workflow, from brief to physical sample, and record where the file and the sample disagreed.
- Add a physical fit check before any bulk commitment, regardless of how clean the render looks.
If you want concept, specification and factory handoff in one workspace, our team runs that flow directly: CAD and engineering starts at $4,000, and a fully specified product with front, back and side views, construction details and a tech pack runs about 50 credits.
Test the workflow on one garment before you scale it. Then keep a short log of which measurements changed between the sample and bulk: that log is the most valuable document your team will build, because it turns every future pattern into a better starting point.
Genpire turns a prompt, sketch or reference into factory-ready menswear documentation: multi-view concepts, points of measure such as sleeve length and shoulder width in centimetres, construction details for seams and closures, and a tech pack your factory can quote from. It's built for the work this article describes, where a digital file supports fit decisions rather than replacing the fitting session. Visit Genpire to see how the workflow fits your next collection.